MAI 2000 QIC tapes / tape drives
In this document:
- QIC 1/4" basic description
- How to read a tape written by an MAI 2000 with linux
- How to write tapes on linux and read them on an MAI 2000
- How to replace wd0 without reinstalling (I have no BOSS/IX tape and i'm searching for this since 6 years)
The original tape drive in the MAI 2000 (Model 4403) was a Tandberg
TDC3390 (Consist of drive TDC3309 and formatter board TDC3350). The
formatter board was equipped with a standard QIC-02 intelligent
interface.
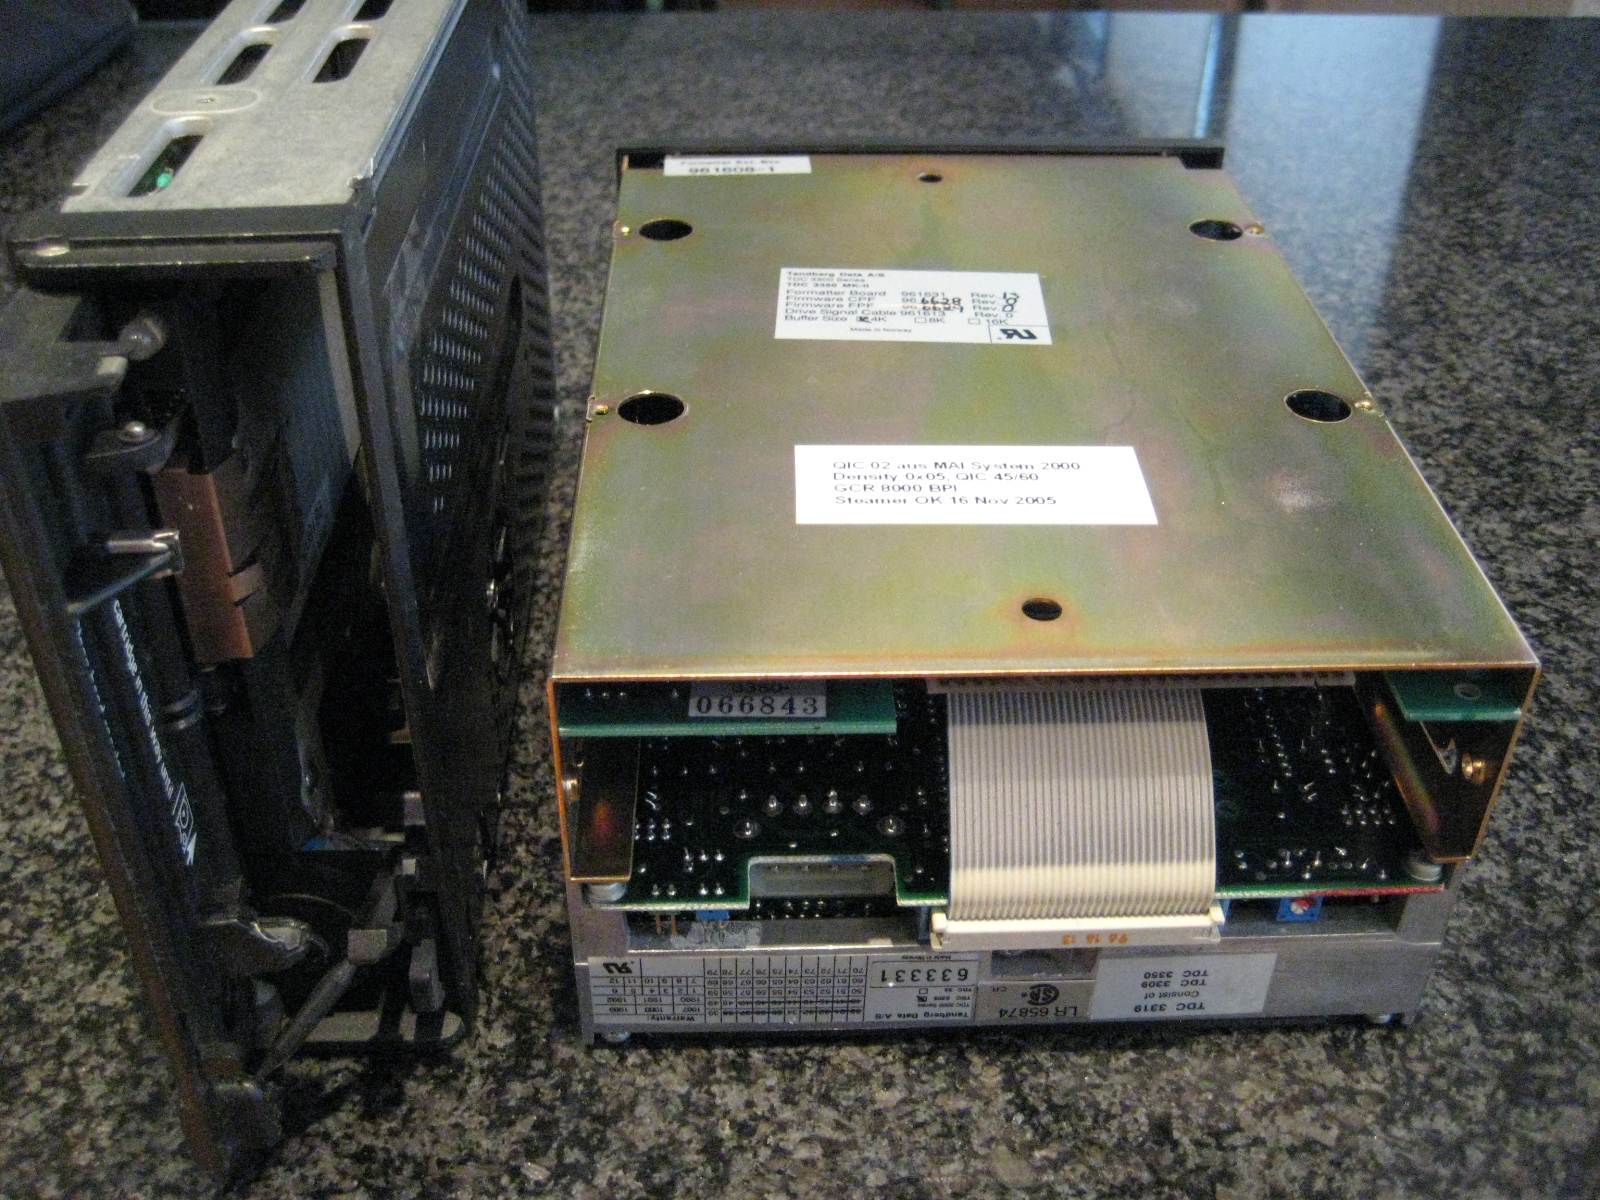

Recording format is 9 tracks, the capacity is 45 MB on a 450 feet, 60
MB on a 600 feet cardridge. Format used is QIC-24.
The service manual for the Model 4403 is available here
or at bitsavers.
A datasheet for a similar drive from Wangtek is avalaible at bitsavers.
QIC formats:
format
|
tracks
|
MB
|
tape length
feet
|
QIC-11
|
4
|
20
|
450
|
QIC-24
|
9
|
45
|
450
|
QIC-120
|
15
|
125
|
620
|
QIC-150
|
18
|
150
|
620
|
QIC-525
|
26
|
525
|
1020
|
Formats supported differ by drives but i know no drive > QIC-24 that
can write the QIC-24 format.
|
Wangtek |
Archive |
Tandberg |
|
5099 |
5125 |
5525 |
Viper
2125 |
Viper
2150 |
Viper
2550 |
Anaconda
2750 |
Anaconda
2750 |
SLR7 |
SLR5 |
SLR4
(TDC4200) |
SLR3 |
SLR2
(TDC3800) |
SLR1 (TDC3600) |
| QIC-11 |
- |
- |
- |
- |
- |
- |
- |
- |
- |
- |
- |
- |
- |
- |
| QIC-24 |
R/W |
R |
R |
R |
R |
R |
R |
R |
- |
- |
R |
R |
R |
R |
| QIC-120 |
- |
R/W |
R/W |
R/W |
R/W |
R/W |
R/W |
R/W |
- |
- |
R/W |
R/W |
R/W |
R/W |
| QIC-150 |
- |
- |
R/W |
- |
R/W |
R/W |
R/W |
R/W |
- |
- |
R/W |
R/W |
R/W |
R/W |
| QIC-525 |
- |
- |
R/W |
- |
- |
R/W |
R/W |
R/W |
- |
R/W |
R/W |
R/W |
R/W |
- |
| QIC-1000 |
- |
- |
- |
- |
- |
- |
R/W |
R/W |
- |
R/W |
R/W |
R/W |
- |
- |
| QIC-2GB |
|
|
|
|
|
|
|
|
- |
R/W |
R/W |
- |
- |
- |
This means that if you want to write tapes under linux and read them
with the MAI system, the drive in the MAI has to be replaced by a model
with more capacity. The interface used in the MAI is QIC-36, so any
drive should work. I have used a Tandberg 150 MB model. Here some
drives with QIC-36 interface:
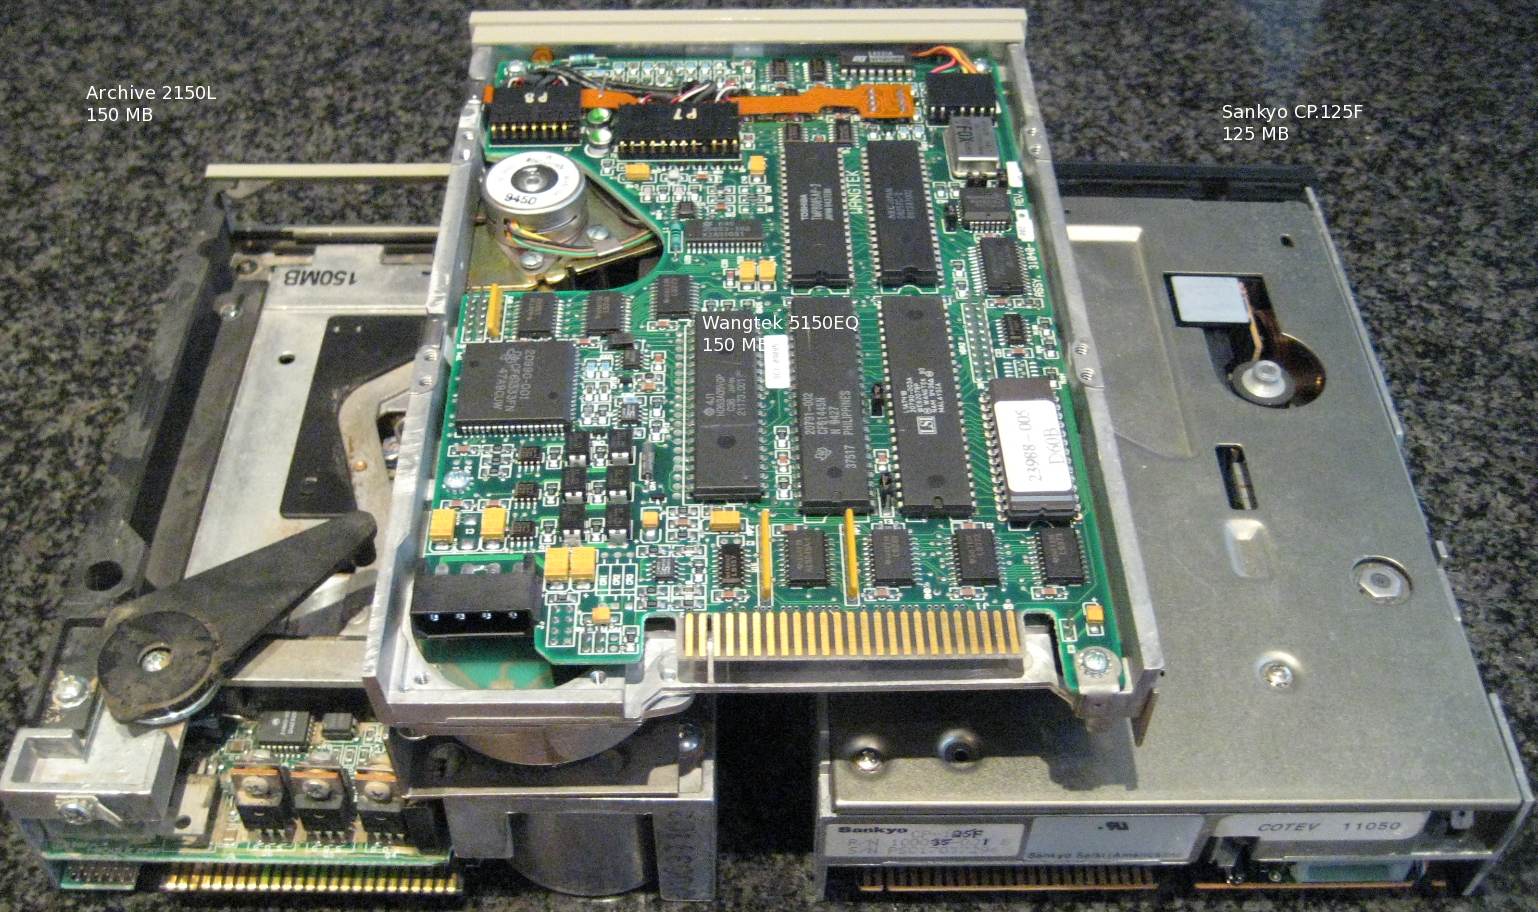
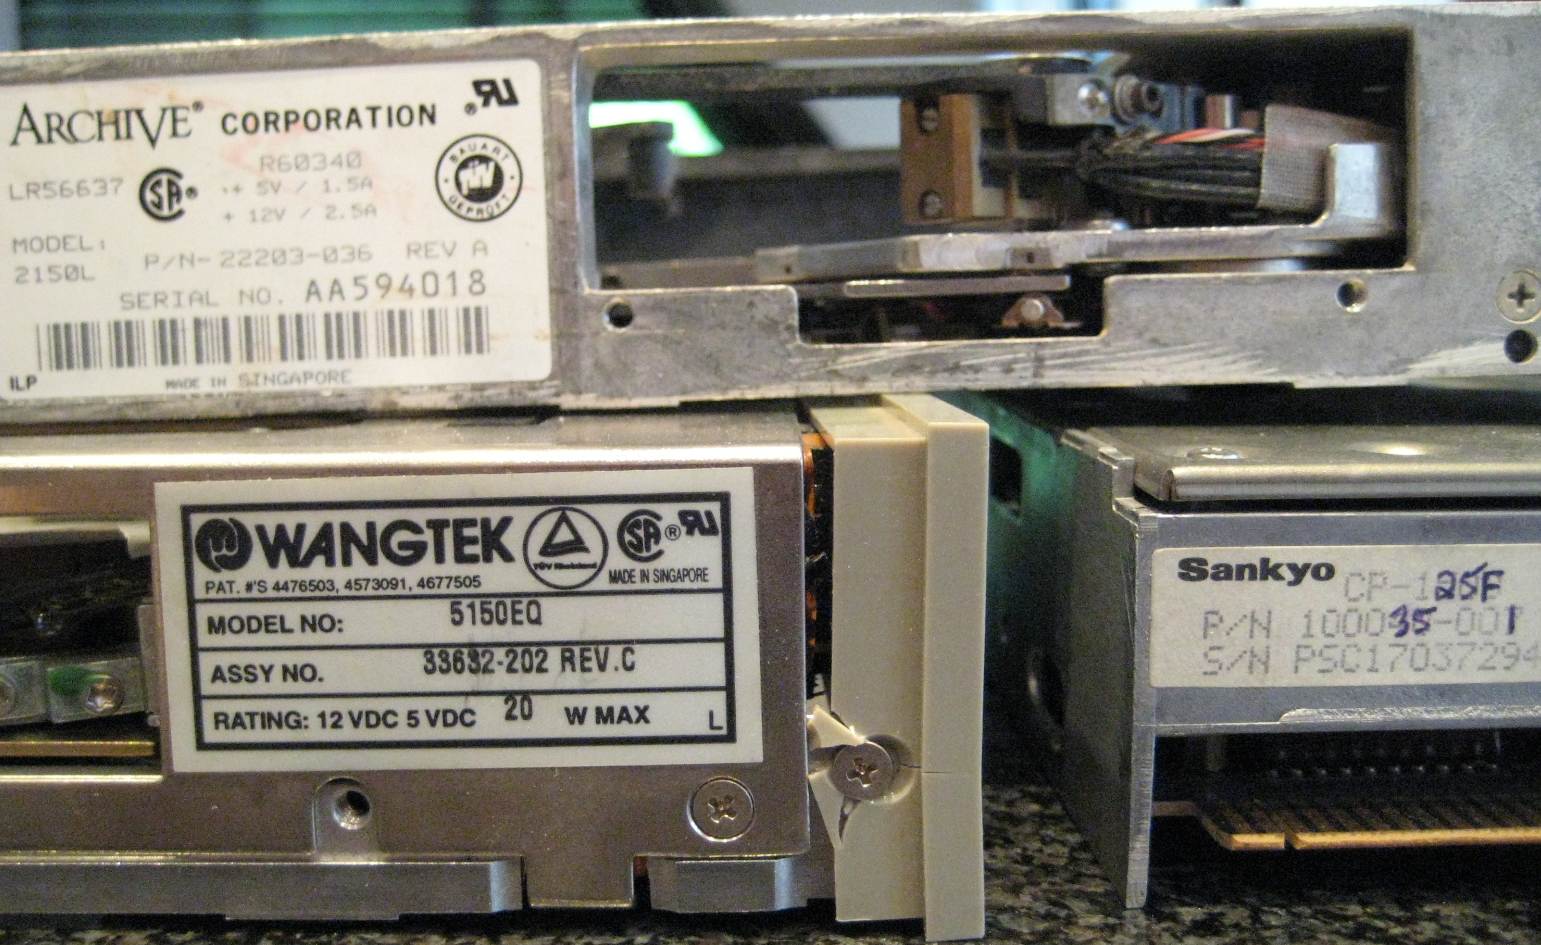
Wangtek drives tend to have a problem with the capstan roller used to
transport the tape. The roller will transform to liquid and ruin the
tape. I have 2 drives with that problem here, i would suggest not to
buy old Wangtek drives. The models from Tandberg and Archive i have do
not show this problem at all. I got all the drives i have from ebay for
less that €5.
There were also QIC-24 drives with scsi interface available, for
example Caliper CP-60S but i have never seen such a drive.
How to read tapes on a linux machine
For the linux machine, you need an SCSI model. In the past i used a
Wangtek 5525 but due to the capstan roller problem i changed it to a
Sankyo CP 525SE (€1 from eBay).
For controlling the tape, you need mt (control magnetic tape drive
operation). For fedora, the package "mt-st" needs to be installed, for
other distros find the package providing /bin/mt, on yum based distros
with "yum provides /bin/mt".
The contents of a tape can be read with a small script:
SESS=1
DEV=/dev/nst0
echo "Rewinding Tape"
mt -f $DEV rewind
while [ 1 ]; do
S=`echo $SESS | awk '{ printf
"%04d\n",$1 }'`
echo "$SESS $S"
dd if=$DEV of=S$S bs=512 || exit 1
SESS=`expr $SESS + 1`
done
This script will rewind the tape and read all files on tape into the
local files named S0001 to Snnn.
If you do not have access to /dev/nst0 as non root user, check the
group of /dev/nst0
[ad@media
~]$ ls -al /dev/nst*
crw-rw----. 1 root tape 9, 128
Jun 14 19:01 /dev/nst0
crw-rw----. 1 root tape 9, 224
Jun 14 19:01 /dev/nst0a
crw-rw----. 1 root tape 9, 160
Jun 14 19:01 /dev/nst0l
crw-rw----. 1 root tape 9, 192
Jun 14 19:01 /dev/nst0m
and add the group (tape) to your account (as root and you need to
logoff and login after the group is added):
usermod
-G tape YOUR_USER_ID_HERE
How to write tapes on a linux machine
When writing tapes, the density should be set so that the drive in the
MAI machine can read the tapes. As mentioned above, almost none of the
120,150 or 525 MB drives can write the 45 MB QIC-11 format. So adjust
the format matching to the drive installed in the MAI. I'm using a
150MB Tandberg drive in my MAI 2000, so the density code to use is 0x10.
#0x05
QIC-45/60 (GCR, 8000 bpi) [not writable]
#0x0f QIC-120 (GCR
10000 bpi)
#0x10 QIC-150/250
(GCR 10000 bpi)
#0x11 QIC-320/525
(GCR 16000 bpi)
#set density to 150MB
>mt -f /dev/nst0 setdensity 0x10
now you can simply write data to the tape. If you want to write a diag tape, simply dd all files to the tape.
The MAI does not have tar or cpio istalled. In addition dd (=debe on
the MAI) can not access the tape device (/dev/cs). The basic
interpreter has also no support for 1/4" streamer, only the 1/2" MTS is
supported.
That means, the only way to read and write data from the tape (i have
no c compiler due to the missing BOSS/IX tape) is tsave and trestore.
How to backup the bootdisk (wd0) on the MAI
2000
My problem was a noisy harddisk that also had sometimes read errors. So
i decided to change the disk. I got 2 seagate st1100 (3,5", 80 MB) on
ebay to replace the Maxtors.
It is important to backup the config record (contains serial num,
owner, max memory, max disks and so on), without that, the OS will
not start.
In case you have a replacement disk with same #of tracs, sectors and
heads you can use dutil from the diag tape to backup the disk. Boot
from the diag tape, at the <exec> prompt, enter
load dutil
when dutil is loaded, enable retry and ecc (this will not write to disk but does not work without writeok)
writeok
retry 50
ecc
readonly
now do a read test of the complete disk, the backup only works if every sector can be read:
dread
If that was ok, you can start the backup, enter
dutil
to show the dutil menu, select readonly utils and backup disk 0.
Writing other data on the MAI to tape
The MAI BOSS/IX (=µnOS from Charles River Data Systems) does not have
tar or cpio. In addition, debe (=dd) can not write to the 1/4" streamer
device (/dev/cs). So the only way i know is the backup program provided by MAI, it is called tsave.
tsave dev=device [options] {files}
Options
list=filelist_file
-recursive
-verbose
-filesystem (image backup of a filesystem not currently mounted)
Backup all:
tsave dev=/dev/cs -v -r /*
To include the boot partition, mount it before running tsave:
mount /dev/boot /mnt
The device name may be different, do a ls -l /dev | p and search for a
device 14,01, this is the first partition on the disk. On systems were
a diag partition is installed, the boot partition may be the second one
(have not checked this).
Save the config record
I think there was /bin/iconf for working with the config record, as far
as i remember, iconf can display, read and write the config record on
wd0 only, no way to copy it to a second disk.
Replacing the boot harddisk (wd0)
I have made this 5 years ago, so i'm not 100% sure what i have done but from my memory:
- Due to the fact that dutil only supports harddisk sold by MAI at
that time, dutil has to be patched for the drive parameters of the new
disk. In the download section is a
program for win32 or linux (more a hack) that can patch dutil. The
program will convert dutil from motorola s-record format to a binary,
ask for the new parameters (tracks, heads, ...) and will write a new
dutil in s-record format. Write a new diag tape, this tape will be
later used to format the disk.
- Install the new harddisk as second harddisk.
- Boot from the diag tape, load dutil and format the drive
(command dutil within the loaded dutil will show a menu). Also write a
new boot record to the disk
- Boot BOSS/IX and create device files for the second harddisk
- Create a new partition table with the usb command, the first 2
partitions (boot and swap) have to have the same size as the ones on
the source disk (a command refence manual is inthe download section)
- Copy the boot and swap partition with debe
- make a new filesystem on the 3rd partition (root), mount it and copy all files from the existing root to the new root
- The tricky part, BOSS/IX will not start without a config record,
i have transferred it with dutil. Dutil can show the config record and
also has commands for reading and writing sectors (i dont have the
commands in my memory but LIST_COM will show all available commands, i
have no documentation for dutil). First read the config record of the
new disk (via the dutil menu). Of cause there is no config record yet
but you can now see where ths config record has to be stored, note the
current values of track, sector and head. Now read the config record of
the source disk and write it to the destination disk (at the position noted).
last change December, 15, 2015 Armin.
Impressum